
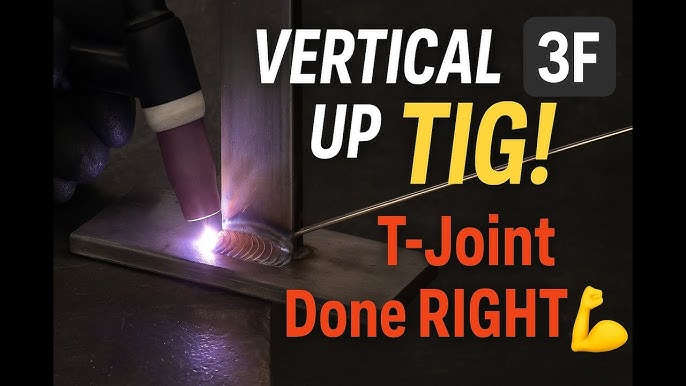
If you want strong, clean, and precise welds on stainless steel, TIG welding is the way to go. But how do you TIG weld stainless steel like a pro?
Whether you’re just starting out or looking to improve your skills, understanding the right techniques can make all the difference. You’ll discover step-by-step tips that will help you get perfect, durable welds every time. Ready to master TIG welding and take your projects to the next level?
Let’s dive in.
Credit: www.pacificarctigwelding.com
Tools And Equipment Needed
TIG welding stainless steel requires specific tools and equipment. Having the right gear ensures clean, strong welds. Proper tools help control heat and protect the metal’s finish. Below are the essential items needed for TIG welding stainless steel.
Essential Welding Tools
- TIG welding machine with adjustable amperage
- Argon gas cylinder for shielding
- TIG torch with a comfortable grip
- Foot pedal or hand control for heat adjustment
- High-quality filler rods matching stainless steel grade
- Clean metal brush for stainless steel
- Clamps and fixtures to hold workpieces steady
Choosing The Right Tungsten Electrode
The tungsten electrode is vital for a stable arc and clean welds. Use 2% thoriated or 2% ceriated tungsten for stainless steel. These provide good arc stability and last longer. Sharpen the tungsten to a fine point for precision. Keep the tip clean to avoid contamination and poor weld quality.
Safety Gear And Precautions
- Welding helmet with proper shade for eye protection
- Fire-resistant welding gloves
- Long-sleeve flame-resistant jacket
- Protective boots to shield feet
- Respirator or adequate ventilation to avoid fumes
- Ear protection if working in noisy areas
Always check your equipment before welding. Follow safety guidelines strictly to prevent accidents and injuries.
Preparing Stainless Steel For Tig Welding
Preparing stainless steel for TIG welding is crucial to achieve a strong, clean weld. The quality of your weld depends heavily on how well you prepare the metal before applying heat. Taking time to clean, clamp, and organize your workspace will save you from dealing with impurities and misalignment issues later.
Cleaning The Metal Surface
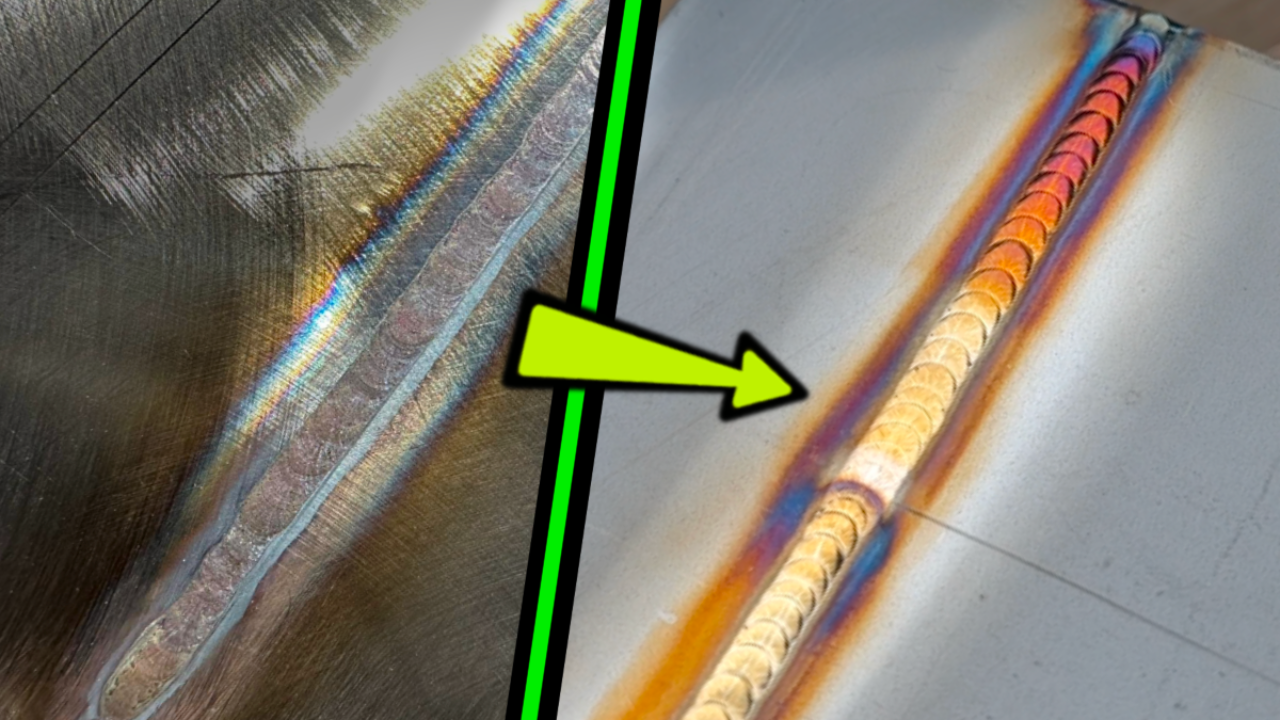
Stainless steel must be spotless before you start welding. Any oil, dirt, or rust can cause contamination and weaken the weld. Use a stainless steel wire brush or a dedicated stainless steel cleaner to remove all surface impurities.
Remember, using a regular steel brush can leave behind particles that may cause rust spots. Always clean the metal just before welding to prevent new contaminants from settling. Have you ever noticed discoloration after welding? That often means the surface wasn’t clean enough.
Proper Clamping And Positioning
Holding your stainless steel pieces steady is essential for precise welding. Use clamps that won’t damage the metal or leave marks. Position your workpieces so you can access the joint easily without straining yourself.
Think about how you’ll move the torch and filler rod comfortably. Poor positioning can lead to shaky welds and uneven heat distribution. Have you tried welding with awkward angles? It usually results in inconsistent bead appearance.
Setting Up The Work Area
Your workspace should be organized, well-lit, and free from drafts that could affect the shielding gas. Make sure your tungsten electrode is sharpened and your TIG machine settings are ready before you begin. Lay out your tools and filler rods within easy reach.
Good ventilation is important, but avoid strong airflow that can blow away the protective gas. Consider using screens or barriers if you’re working in a windy environment. Do you have a habit of rushing to start welding? Taking a moment to set up can drastically improve your results.
Selecting The Correct Filler Material
Selecting the correct filler material is key to achieving strong, clean TIG welds on stainless steel. The filler rod you choose affects not only the weld’s strength but also its corrosion resistance and appearance. Ignoring this step can lead to weak joints or discoloration, which defeats the purpose of using stainless steel in the first place.
Matching Filler With Base Metal
Your filler material must closely match the type of stainless steel you’re welding. For example, if you’re working with 304 stainless steel, a 308L filler rod is typically the best match. This ensures the weld blends well in strength and corrosion resistance.
Using the wrong filler can cause weld cracking or corrosion issues later on. Have you ever noticed discoloration or pitting in your welds? That’s often a sign of poor filler matching. Always check the composition of your base metal and choose a filler rod designed for that specific alloy.
Filler Rod Size And Composition
The size of your filler rod impacts how easily you can control the weld pool. Smaller rods, such as 1/16 inch, give you more precision for thin materials. Larger rods work better for thicker pieces but can be harder to handle if you’re new to TIG welding.
Composition matters too. Stainless steel filler rods often contain a mix of chromium and nickel, which helps maintain the metal’s corrosion resistance. For example, 316L rods add molybdenum for better resistance to chloride corrosion, making them ideal for marine environments.
Think about the environment where your welded piece will be used. Do you need extra corrosion resistance or strength? Choosing the right rod size and composition based on these factors can save you from costly repairs down the line.
Tig Welder Settings
Setting up the TIG welder correctly is key for welding stainless steel. Proper settings ensure smooth welds and strong joints. Each adjustment affects the heat, weld pool, and metal flow. Understanding these settings helps avoid common issues like warping or weak welds.
Amperage And Voltage Adjustments
Amperage controls the heat level during welding. Lower amperage suits thin stainless steel sheets. Higher amperage works best for thicker metals. Adjust voltage to stabilize the arc and avoid spatter. Too high voltage causes an unstable arc. Too low voltage makes the arc weak and inconsistent.
Gas Flow Rate And Type
Argon gas is the preferred choice for TIG welding stainless steel. It protects the weld from contamination. Set the gas flow rate between 15 and 20 cubic feet per hour. Too low flow allows air to mix with the weld. Too high flow wastes gas and creates turbulence. Consistent shielding gas coverage is crucial for quality welds.
Pulse Settings For Thin Materials
Pulse welding helps control heat on thin stainless steel. It alternates between high and low amperage. This reduces warping and burn-through risks. Use faster pulse frequencies for very thin metals. Adjust the pulse width to manage the weld bead size. Pulse settings improve weld appearance and strength on delicate materials.
Mastering Welding Techniques
Mastering welding techniques is essential for creating strong, clean, and precise TIG welds on stainless steel. It’s not just about having the right equipment; your skill in handling the torch and controlling the weld pool determines the quality of your work. Let’s dive into key techniques that make a difference in your TIG welding results.
Torch Handling And Movement
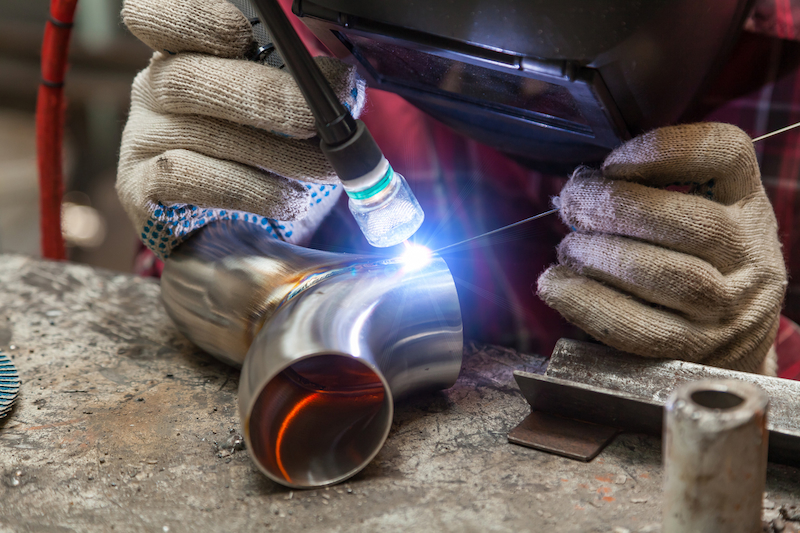
Your torch movement directly affects the weld bead’s shape and penetration. Keep the torch at a consistent angle—typically between 70 to 80 degrees—to maintain control. Smooth, steady motions prevent uneven heat distribution, which can cause warping or weak spots.
Try to avoid abrupt starts or stops. Instead, let the torch glide naturally along the joint, maintaining a short arc length. This precision helps you control the heat input, crucial for stainless steel’s sensitivity to overheating.
Creating A Consistent Weld Pool
Focus on forming a stable weld pool that flows evenly along the seam. Watch closely as the metal melts—your goal is a shiny, fluid pool that moves steadily with the torch. If it’s too large or too small, you risk weak welds or burn-through.
Use filler rod steadily, adding it into the leading edge of the pool. Keep your hand movements coordinated so the rod melts evenly. This balance between torch and filler rod is what shapes a strong weld.
Avoiding Common Welding Defects
Welding stainless steel presents unique challenges like porosity, cracking, and discoloration. These defects often stem from poor technique or contamination. Always clean your metal thoroughly before starting to prevent impurities from ruining the weld.
Control your heat input carefully to avoid warping or burn-through. If you notice spatter or inconsistent bead appearance, pause and check your gas flow and torch angle. Small adjustments can save you from costly rework.

Credit: www.youtube.com
Post-weld Treatments
After you finish TIG welding stainless steel, the work isn’t quite done. Post-weld treatments are crucial to ensure your weld looks good, lasts long, and resists corrosion. Taking the time to properly clean, inspect, and treat your weld will make a big difference in the final quality and durability of your project.
Cleaning And Finishing The Weld
Cleaning your stainless steel weld removes any discoloration, slag, or contaminants left from welding. Use a stainless steel wire brush or specialized cleaning pads designed for this metal to avoid scratching the surface.
Finishing the weld might include grinding or polishing to smooth out the bead and blend it with the surrounding metal. Don’t rush this step—careful finishing improves both appearance and performance.
Inspecting For Flaws
Checking your weld for cracks, porosity, or undercut is essential before moving forward. Visual inspection with good lighting and magnification can catch many issues early.
For critical projects, consider non-destructive testing methods like dye penetrant or ultrasonic testing. Finding flaws early saves you from costly repairs or failures down the road. Have you ever missed a tiny crack that caused big problems later?
Passivation For Corrosion Resistance
Passivation is a chemical treatment that restores the chromium oxide layer on stainless steel, which protects against rust and corrosion. After welding, this protective layer can be damaged or removed, making passivation necessary.
Using a citric or nitric acid solution, you can treat the weld area to enhance corrosion resistance without altering the metal’s surface. Skipping passivation might seem like a time-saver, but it can drastically reduce your stainless steel’s lifespan.
Troubleshooting Tips
TIG welding stainless steel demands precision and control. Troubleshooting common problems helps achieve strong, clean welds. Understanding how to fix issues ensures better results and fewer setbacks. Below are key tips for handling frequent challenges during TIG welding.
Dealing With Porosity Issues
Porosity appears as small holes or bubbles in the weld. It weakens the weld and affects appearance. Clean the metal surface thoroughly before welding. Remove oil, dirt, and rust using a stainless steel brush or cleaner.
Use a proper shielding gas flow to keep air out. Too low or too high flow causes porosity. Check the gas hose and connections for leaks or damage. Maintain a steady welding speed to prevent gas pockets.
Addressing Warping And Distortion
Stainless steel warps due to high heat and uneven cooling. Use a low heat setting and control the heat input. Welding in short sections and letting the metal cool between passes helps.
Clamp the workpiece firmly to reduce movement. Use backing bars or heat sinks to absorb excess heat. Plan the weld path to balance heat on both sides.
Correcting Incomplete Fusion
Incomplete fusion means the weld metal does not fully bond with the base metal. It weakens the joint and causes cracks. Clean the joint area well before welding. Remove any paint, scale, or dirt.
Adjust the welding angle and torch position for better penetration. Increase amperage slightly if the weld pool looks weak. Maintain steady torch movement and avoid rushing the weld.
Credit: www.adamsgas.co.uk
Frequently Asked Questions
What Is The Best Tungsten Type For Tig Welding Stainless Steel?
For TIG welding stainless steel, use a 2% thoriated or 2% ceriated tungsten electrode. These provide excellent arc stability and longevity, ensuring clean and precise welds on stainless steel surfaces.
How Do You Prepare Stainless Steel Before Tig Welding?
Clean stainless steel thoroughly by removing grease, dirt, and oxide layers. Use a stainless steel wire brush and acetone to ensure a contaminant-free surface for strong welds.
What Gas Is Ideal For Tig Welding Stainless Steel?
Argon gas is the preferred shielding gas for TIG welding stainless steel. It provides a stable arc and protects the weld pool from oxidation and contamination.
What Settings Are Optimal For Tig Welding Stainless Steel?
Use low amperage with AC or DCEN current, depending on the stainless steel grade. Adjust the tungsten size and gas flow rate for clean, precise welds.
Conclusion
TIG welding stainless steel needs care and the right tools. Keep the metal clean for the best results. Use the correct settings to avoid warping or burning. Practice steady hand movements to create smooth welds. Always wear safety gear to protect yourself.
With patience and attention, TIG welding can join stainless steel well. Try small projects first to build your skill. Each weld teaches you something new. Keep learning and improving over time. Welding stainless steel opens many possibilities for strong, neat joints.
About The Author

