
Are you ready to take your welding skills to the next level? Learning how to lift TIG welds can open new doors for your projects, giving you cleaner, stronger joints every time.
Whether you’re fixing a mistake or improving your technique, mastering this skill will save you time and frustration. In this guide, you’ll discover simple, step-by-step tips that make lifting TIG welds easier than you ever thought. Keep reading, and soon you’ll handle your welding like a pro.
Credit: www.amazon.ca
Essential Tools And Materials
Having the right tools and materials makes TIG welding easier and safer. This section covers the must-have items to start welding with confidence. Proper equipment helps create clean, strong welds every time.
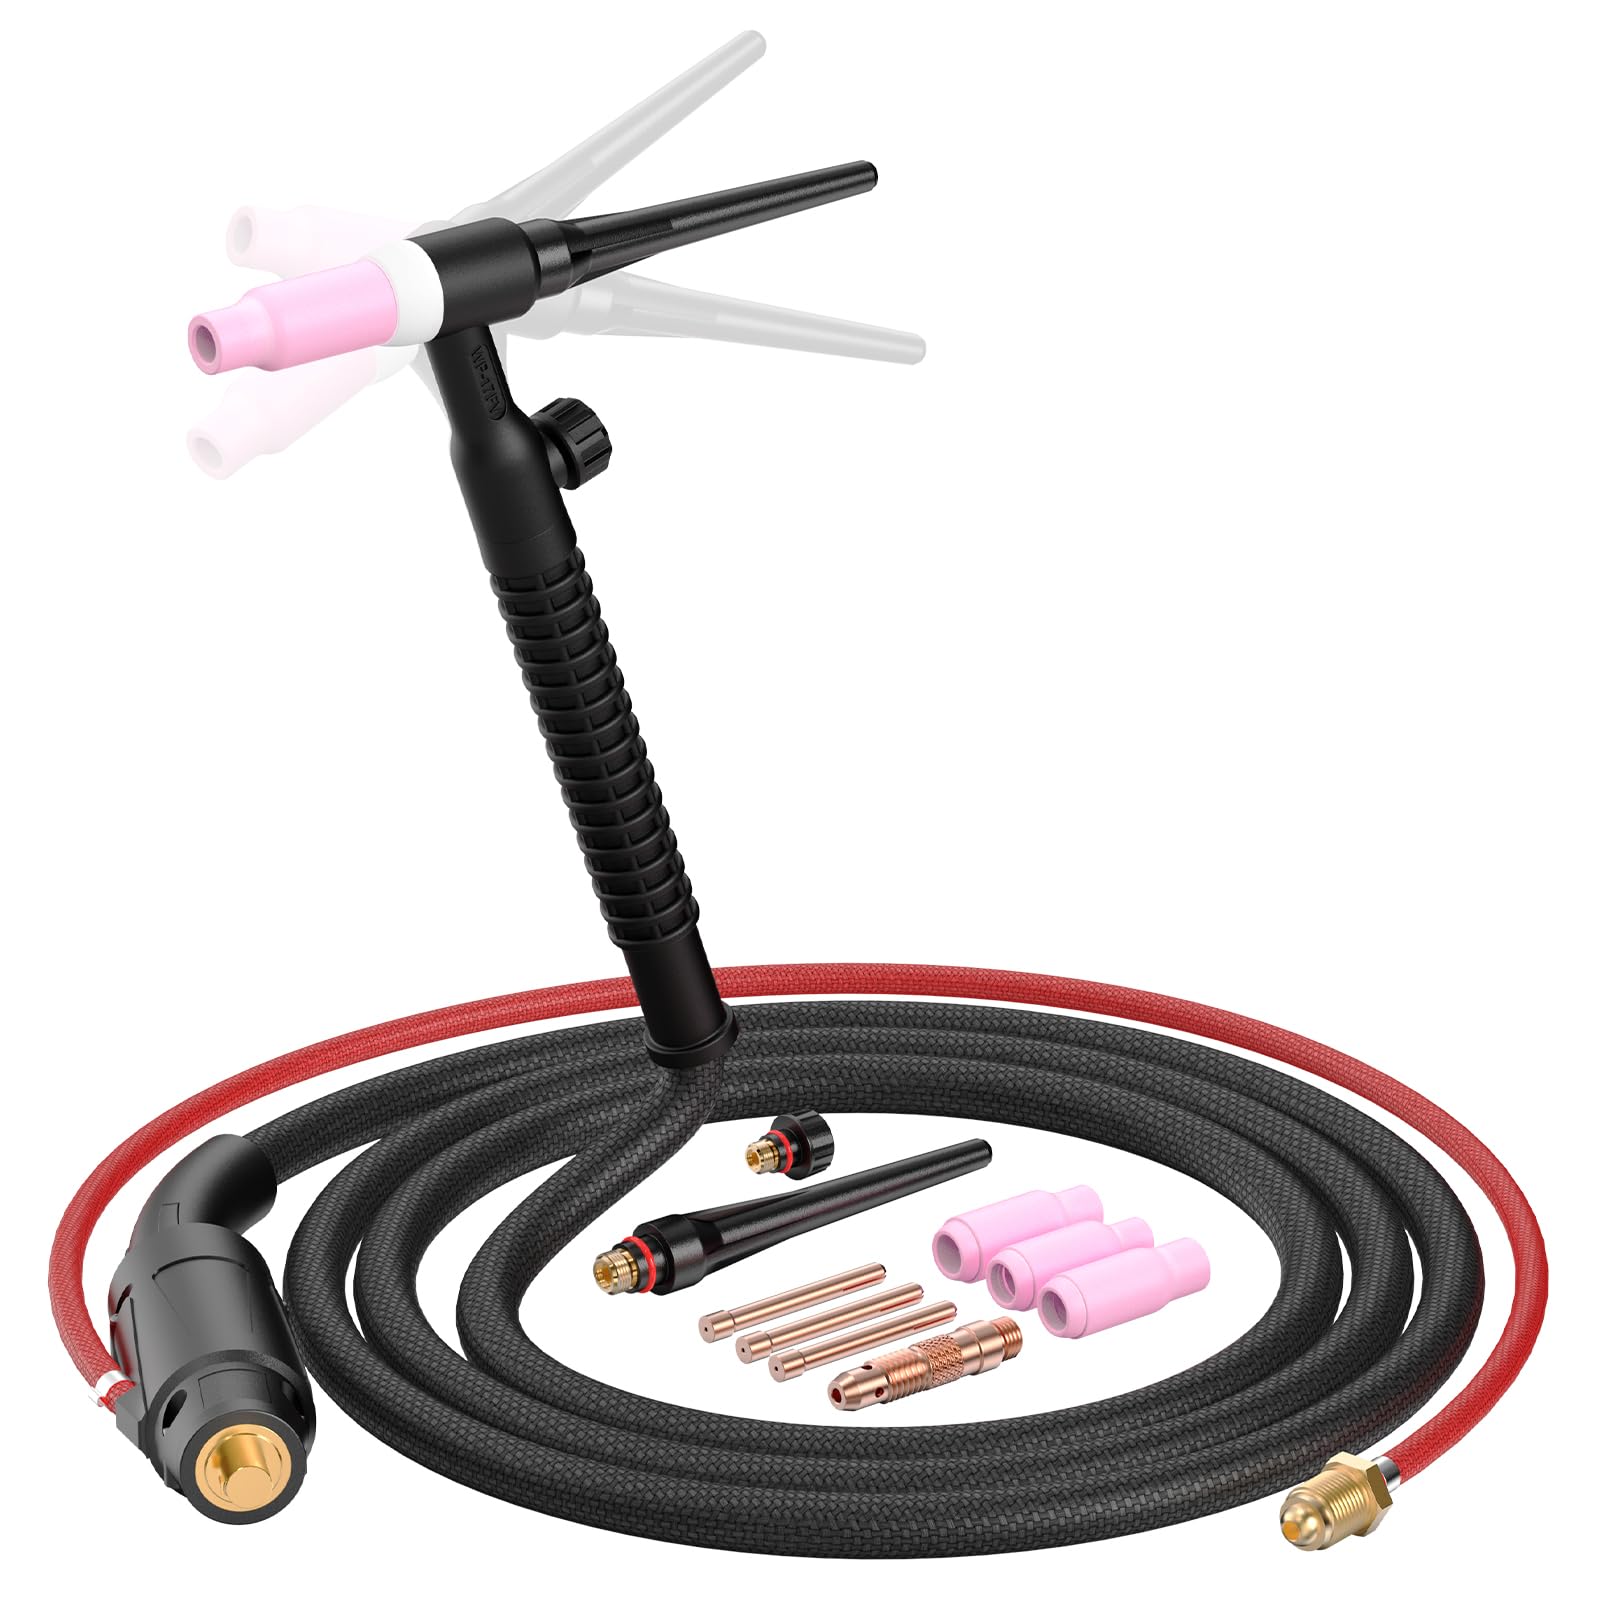
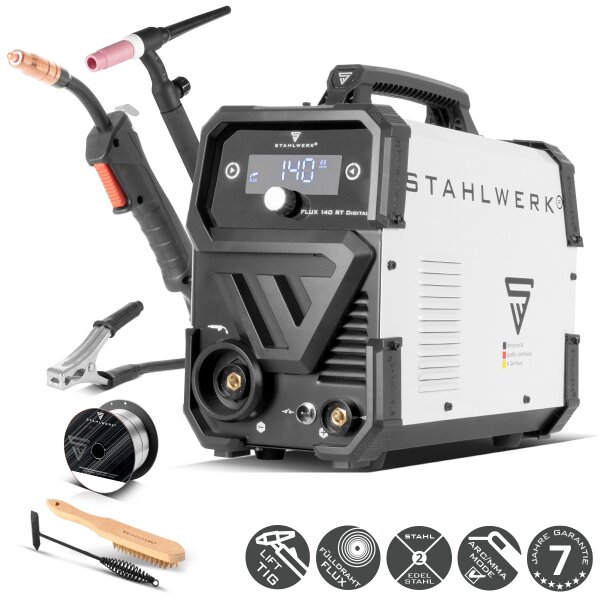
Tig Welder
The TIG welder is the main tool for this welding type. It uses electricity to melt metal precisely. Choose a machine with adjustable settings for heat and current. This control lets you work on different metals and thicknesses.
Filler Rods
Filler rods add extra metal to the weld joint. Pick rods that match the metal type you weld. Common types include aluminum, stainless steel, and mild steel rods. Using the right rod ensures a strong, lasting bond.
Protective Gear
Safety is key in welding. Wear a welding helmet with a dark lens to shield your eyes. Use flame-resistant gloves and a jacket to protect skin from sparks. Proper gear prevents burns and injuries.
Cleaning Supplies
Clean metal surfaces help welds stick better. Use a wire brush or grinder to remove rust and dirt. Acetone or alcohol wipes clear oils and grease. Clean materials improve weld quality and reduce defects.
Preparing The Workspace
Preparing your workspace is a crucial step before lifting a TIG weld. A clean, organized, and safe environment not only improves your efficiency but also reduces the risk of accidents. Taking time to set up properly can save you from costly mistakes and frustrations down the line.
Ensuring Safety
Your safety should be the top priority. Make sure you wear appropriate protective gear like gloves, a welding helmet, and flame-resistant clothing.
Check for proper ventilation to avoid inhaling harmful fumes. Have a fire extinguisher nearby and clear any flammable materials from the area.
Ask yourself: Is your workspace free from hazards that could cause injury or damage? Taking a moment to scan the area can prevent serious problems.
Setting Up Equipment
Arrange your welding machine, clamps, and lifting tools within easy reach. This reduces unnecessary movement and keeps you focused on the task.
Inspect your TIG welder for any loose connections or worn-out parts before starting. Faulty equipment can lead to poor weld quality or even injury.
Consider your power source and cable layout to avoid tripping or accidental unplugging. Have you tested your equipment to ensure it runs smoothly?
Organizing Materials
Sort your metals, filler rods, and cleaning supplies before you begin. Knowing exactly where everything is speeds up your workflow.
Label your materials if necessary, especially if you work with multiple alloys or thicknesses. This helps prevent mixing up parts during the lift.
Keep your workspace tidy by removing scraps and debris regularly. A clutter-free area helps you concentrate and maintain precision in your weld lifting process.
Mastering The Technique
Mastering the technique of lifting a TIG weld takes more than just steady hands—it demands precision, control, and a clear understanding of each movement. Every detail counts, from how you hold the torch to the way you feed the filler rod. Let’s break down the key actions that will help you perfect your weld lifts and create clean, strong joints.
Positioning The Torch
The angle at which you hold your torch directly affects the quality of your weld. Aim to keep the torch at about a 70 to 80-degree angle to the workpiece. This angle helps maintain a stable arc and prevents the tungsten from contaminating the weld pool.
Keep the torch steady and close enough to the weld without touching the molten metal. Too far away, and your arc becomes unstable; too close, and you risk burning the tungsten or creating an uneven weld. Have you noticed how even a slight change in torch angle can alter the weld bead?
Controlling The Heat
Heat management is critical when lifting a TIG weld. If you apply too much heat, the weld pool can become uncontrollable and cause burn-through. Too little heat, and the filler material won’t fuse properly with the base metal.
Adjust the amperage according to the thickness of your workpiece. Use a foot pedal or fingertip control to modulate the heat as you move through the lift. This control allows you to keep the weld pool fluid but manageable, especially as you transition from the base metal to the filler rod.
Feeding The Filler Rod
Feeding the filler rod smoothly and consistently is essential for a clean lift. Hold the rod at about a 15 to 20-degree angle in the direction of the weld. Dip the rod gently into the leading edge of the weld pool without dragging it through the molten metal.
Timing is everything—feed the rod in rhythm with your welding speed. Too fast, and you risk creating excess weld buildup; too slow, and the weld may lack fusion. Have you ever tried to match your filler rod feed to your torch movement? It’s a skill that separates good welds from great ones.
Common Mistakes To Avoid
Many welders face common challenges when learning how to lift TIG welds. These mistakes often cause weak welds or damage to the metal. Avoiding these errors can improve your weld quality and efficiency.
Understanding these common pitfalls helps you focus on technique. Concentrate on control, consistency, and precision for better results.
Overheating The Metal
Applying too much heat can warp or weaken the metal. Excess heat changes the metal’s structure and causes cracks. Use steady, moderate heat to prevent damage. Allow the metal to cool slightly between passes.
Inconsistent Travel Speed
Moving the torch too fast or too slow leads to uneven welds. Fast travel causes weak bonding and poor penetration. Slow travel causes excessive heat buildup and burn-through. Keep a steady pace to create smooth, strong welds.
Improper Torch Angle
Holding the torch at the wrong angle reduces control and weld quality. A bad angle affects the arc and filler metal flow. Maintain a consistent angle, usually between 10° and 15°, to the workpiece. This helps form a clean, even bead.
Advanced Tips For Quality Welds
Achieving top-quality TIG welds requires more than just basic skills. Advanced techniques can dramatically improve your weld’s strength and appearance. These tips help you control heat, protect the weld, and maintain precision, ensuring every joint looks professional.
Pulse Welding
Pulse welding lets you control the heat input by alternating between high and low current. This reduces the chance of warping or burning through thin metals. Have you tried pulsing your welds to keep the puddle steady and prevent overheating?
It’s especially useful when working on aluminum or stainless steel. You’ll notice a smoother weld bead and less discoloration. Experiment with pulse frequency and balance to find what works best for your material.
Back Purging
Back purging involves flowing an inert gas, like argon, behind the weld area. This prevents oxidation on the backside of the joint, which is crucial for stainless steel and other reactive metals. If you’ve struggled with weld contamination, back purging can make a big difference.
Setting up a proper purge system can be simple with the right clamps and gas flow regulators. This technique ensures a clean, shiny finish on both sides of the weld, improving corrosion resistance and overall quality.
Using A Foot Pedal
A foot pedal gives you real-time control over the welding current. This allows for quick adjustments as you move along the joint, especially helpful when dealing with varying thicknesses or tricky angles. Have you noticed how much more control you get with a foot pedal compared to a fixed setting?
Using a foot pedal can reduce mistakes and help you maintain a steady weld pool. It’s a small investment that often pays off in cleaner, more precise welds.
Credit: www.stahlwerk-schweissgeraete.de
Maintaining Your Equipment
Maintaining your TIG weld equipment ensures better weld quality and longer machine life. Proper care prevents breakdowns and costly repairs. It also keeps your work safe and efficient.
Regular Cleaning
Clean your TIG torch and machine regularly to remove dust and debris. Use a soft cloth and mild cleaner for the machine surface. For the torch, clean the nozzle and electrode with a wire brush or soft tool. This prevents contamination and improves weld quality.
Routine Inspections
Check your equipment often for signs of wear or damage. Inspect cables, connectors, and hoses for cracks or cuts. Examine the torch head and replace any parts that look worn. Early detection helps avoid unexpected failures during welding.
Replacing Consumables
Consumables like tungsten electrodes, gas nozzles, and cups wear out with use. Replace them regularly to maintain weld precision and stability. Keep extra consumables on hand for quick changes. Proper consumable care saves time and improves weld results.
Troubleshooting Common Issues
Welding with TIG requires precision, but even the most experienced welders face hiccups. Troubleshooting common issues quickly keeps your project on track and prevents costly mistakes. Let’s break down some frequent problems and how you can handle them effectively.
Porosity Problems
Porosity appears as tiny holes or bubbles in the weld, weakening its strength. It usually happens when gas shielding is insufficient, allowing air to mix with the molten metal.
Check your gas flow rate and make sure your shielding gas is pure and consistent. Contaminated or rusty metal surfaces also cause porosity. Clean your workpiece thoroughly before welding and avoid drafts that can blow away the shielding gas.
Ever noticed a sudden hiss or popping sound while welding? That’s often a sign of porosity forming. Adjust your settings or check your gas supply before continuing.
Cracks In Welds
Cracks can ruin a weld’s integrity and lead to failure under stress. They often occur due to rapid cooling, improper joint design, or excessive heat input.
Control your heat input carefully. Use a steady, moderate travel speed and avoid stopping in the middle of a weld bead. Preheating thick or high-carbon metals can reduce thermal stress and prevent cracks.
Ask yourself if the joint design supports the stresses the weld will face. Sometimes a small adjustment in fit-up or adding a backing bar can make all the difference.
Arc Instability
An unstable arc leads to poor weld quality and makes it hard to control the weld bead. It can result from incorrect amperage, dirty tungsten electrodes, or bad ground connections.
Keep your tungsten tip sharp and clean—contaminated electrodes cause erratic arcs. Double-check your amperage settings to match the material thickness and type.
Also, ensure your work clamp is secure and positioned close to the weld area. A weak ground can cause your arc to wander unexpectedly.
Credit: www.vevor.ca
Frequently Asked Questions
What Is The Best Technique To Lift Tig Welds?
The best technique is to use a tungsten electrode with a slight angle. Control heat carefully. Use a steady hand to lift the weld without causing defects or gaps.
How Do You Prevent Weld Contamination When Lifting Tig Welds?
Keep the tungsten clean and sharp. Use proper shielding gas flow to avoid oxidation. Always maintain a stable arc and avoid touching the tungsten to the weld pool.
Can Lifting Tig Welds Affect Weld Strength?
Yes, improper lifting can create weak spots or cracks. Proper technique ensures consistent penetration and fusion, preserving weld strength and quality.
What Tools Are Essential For Lifting Tig Welds Effectively?
A sharp tungsten electrode, a TIG torch with good control, and protective gear are essential. Additionally, a clean workspace and quality shielding gas improve results.
Conclusion
Lifting a TIG weld takes practice and care. Start slow and focus on steady movements. Keep your torch angle right and control the heat well. Watch your weld pool closely to avoid mistakes. With patience, your welds will look smooth and strong.
Remember, good technique beats speed every time. Keep practicing, and your skills will grow. Welding is a skill anyone can improve with time and effort. Stay safe, work carefully, and enjoy the process.
About The Author

