
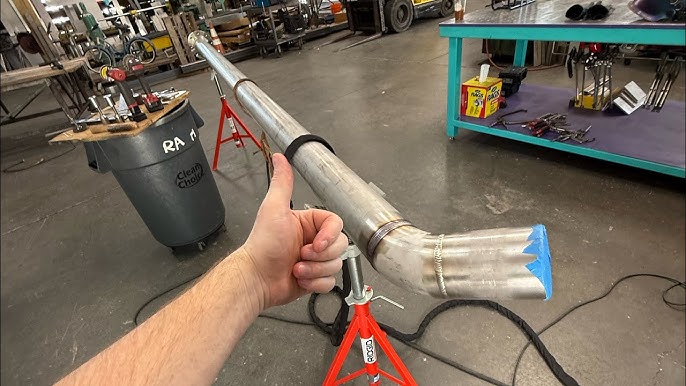
If you want to master the art of TIG welding stainless steel, you’re in the right place. TIG welding can seem tricky at first, but once you understand the basics, you’ll gain control over strong, clean, and precise welds.
Imagine creating joints that don’t just hold, but also look professional and last longer. In this guide, you’ll discover simple steps and key tips to help you weld stainless steel like a pro. Ready to boost your skills and tackle your next project with confidence?
Keep reading, because everything you need to know is right here.
Credit: www.adamsgas.co.uk
Tig Welding Basics
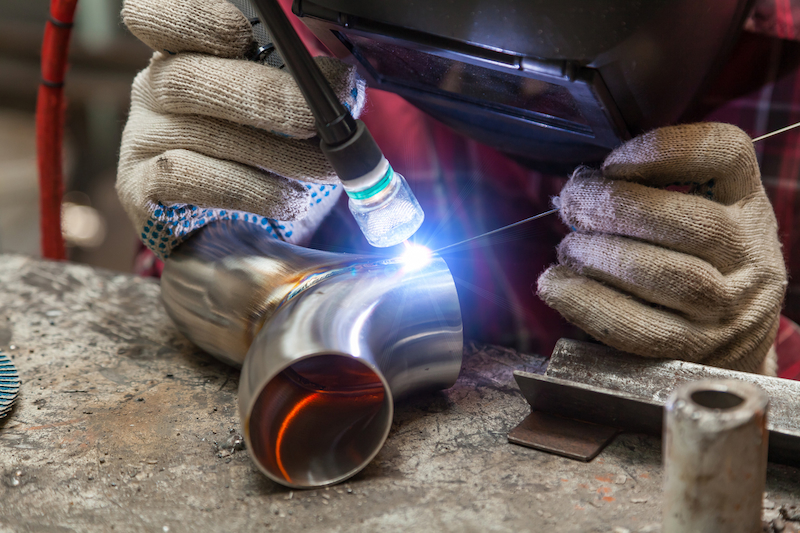
TIG welding stainless steel requires a solid understanding of the basics before you start. Knowing what equipment you need and how to keep yourself safe can make the difference between a clean weld and a costly mistake. Let’s break down the essentials so you can approach your project with confidence.
Equipment Essentials
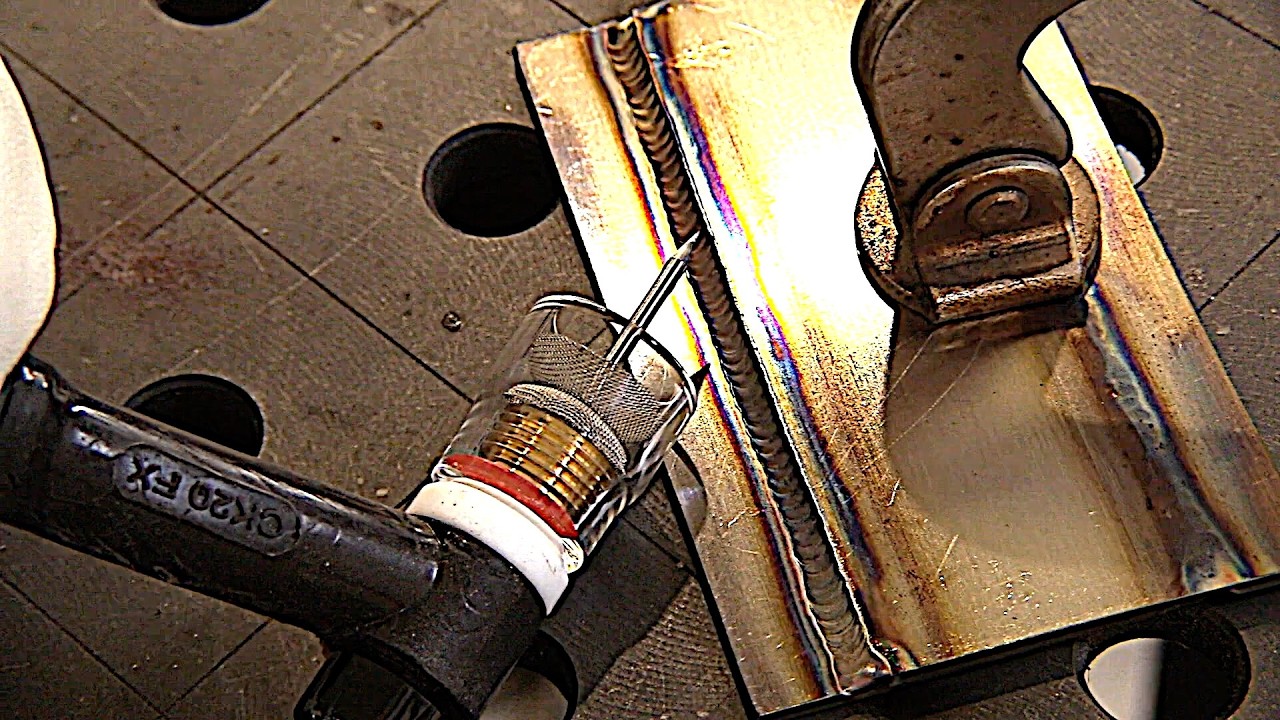
At the heart of TIG welding is the welding machine, but not all machines are created equal. For stainless steel, you need a TIG welder capable of delivering a stable and adjustable current, typically AC/DC with high-frequency start.
Besides the machine, use a tungsten electrode—usually 2% thoriated or ceriated for stainless steel. The size of the electrode matters; thinner metals call for smaller diameters to avoid burn-through.
Don’t forget the filler rod. Matching the filler rod to your stainless steel type, like ER308L for 304 stainless, ensures a strong, corrosion-resistant weld. Have a good supply of argon gas for shielding—it keeps contaminants away from your weld pool.
Safety Precautions
Welding stainless steel exposes you to intense heat, UV light, and hazardous fumes. Always wear a quality welding helmet with the right shade lens to protect your eyes from the bright arc and UV radiation.
Wear flame-resistant gloves and long sleeves to shield your skin. Keep your workspace well-ventilated or use a fume extractor to avoid breathing in harmful stainless steel fumes, which can cause serious respiratory problems over time.
Ever thought about how a small oversight in safety can lead to big trouble? Paying attention to these precautions protects your health and helps you focus fully on creating a perfect weld.
Preparing Stainless Steel
Preparing stainless steel correctly is a key factor in achieving strong, clean TIG welds. Your weld quality depends heavily on how well you prepare the metal before striking the arc. Taking time to ready the surface and selecting the right filler rod can save you from common welding issues like porosity, weak joints, or discoloration.
Cleaning And Degreasing
Start by removing all dirt, grease, oil, and fingerprints from the stainless steel surface. Any contamination can cause weld defects or weaken the joint. Use a dedicated stainless steel cleaner or acetone on a clean cloth to wipe down the metal thoroughly.
After cleaning, use a stainless steel wire brush to remove any oxidation or surface rust. Avoid using a carbon steel brush because it can contaminate the stainless steel and cause rust spots later. Have you noticed how even small amounts of grease can cause the weld to sputter? That’s why a spotless surface is essential.
Choosing Filler Rods
Picking the right filler rod depends on the type of stainless steel you are welding and the application. Common TIG filler rods for stainless steel include ER308L, ER316L, and ER309L. Each offers different corrosion resistance and strength properties.
For example, use ER308L when welding 304 stainless steel, which is widely used in kitchen equipment and architectural applications. If you are working with 316 stainless steel, often found in marine environments, the ER316L rod is a better match due to its molybdenum content.
Have you ever tried welding with the wrong filler rod and ended up with a brittle or discolored weld? Selecting the correct rod not only improves weld appearance but also ensures durability under stress and corrosion.
Setting Up The Welding Machine
Setting up your TIG welding machine correctly is crucial for welding stainless steel with precision and strength. The right setup ensures a clean weld, prevents contamination, and controls heat input effectively. Let’s focus on two vital components: adjusting the amperage and selecting the right shielding gas.
Adjusting Amperage
The amperage controls the heat generated during welding. Too much heat can cause warping or burn-through, while too little leads to weak welds that don’t fuse properly.
Start by considering the thickness of your stainless steel. For thin sheets (around 18 gauge), set the amperage between 30-70 amps. Thicker pieces (up to 1/4 inch) require 100-150 amps.
Remember, the welding torch and filler rod size also influence your amperage choice. If you’re unsure, test on scrap metal to find the sweet spot where the weld pool flows smoothly without excessive spatter.
Selecting The Right Gas
Shielding gas protects the weld pool from oxygen and contamination. For stainless steel TIG welding, pure argon is the most common choice due to its excellent shielding properties.
Some welders add a small percentage of hydrogen or helium to the argon to improve penetration and weld bead appearance. However, incorrect mixtures can lead to discoloration or cracking, so stick to well-tested ratios.
- Pure Argon:Ideal for most stainless steel welding jobs.
- Argon-Hydrogen Mix (up to 5% H2):Enhances weld bead shine and penetration but requires careful control.
- Argon-Helium Mix:Increases heat input for thicker materials.
Have you checked your gas flow rate? Too high causes turbulence and contamination; too low fails to protect the weld. Aim for around 15-20 cubic feet per hour (CFH) for most applications.
Mastering The Technique
Mastering the technique of TIG welding stainless steel requires precision and control. The quality of your weld depends heavily on how you handle the torch and manage heat. These skills come with practice but understanding the key details makes a big difference from the start.
Torch Angle And Movement
Holding the torch at the right angle is crucial. Aim for about 15 degrees off vertical, pointing in the direction you are welding. This helps direct the shielding gas properly and keeps the weld pool clean.
Move the torch smoothly and steadily. Jerky or fast movements can cause uneven weld beads and weak joints. If you notice splatter or inconsistent bead width, slow down and maintain a consistent angle.
Try to keep your torch movement in a slight side-to-side motion to evenly distribute heat. This technique reduces the risk of burn-through and improves penetration. Have you ever noticed how a steady hand creates a much neater weld?
Controlling Heat Input
Heat control is the secret to a strong, attractive weld on stainless steel. Too much heat can cause warping or discoloration, while too little results in poor fusion. Adjust your amperage based on material thickness—thin sheets require lower heat.
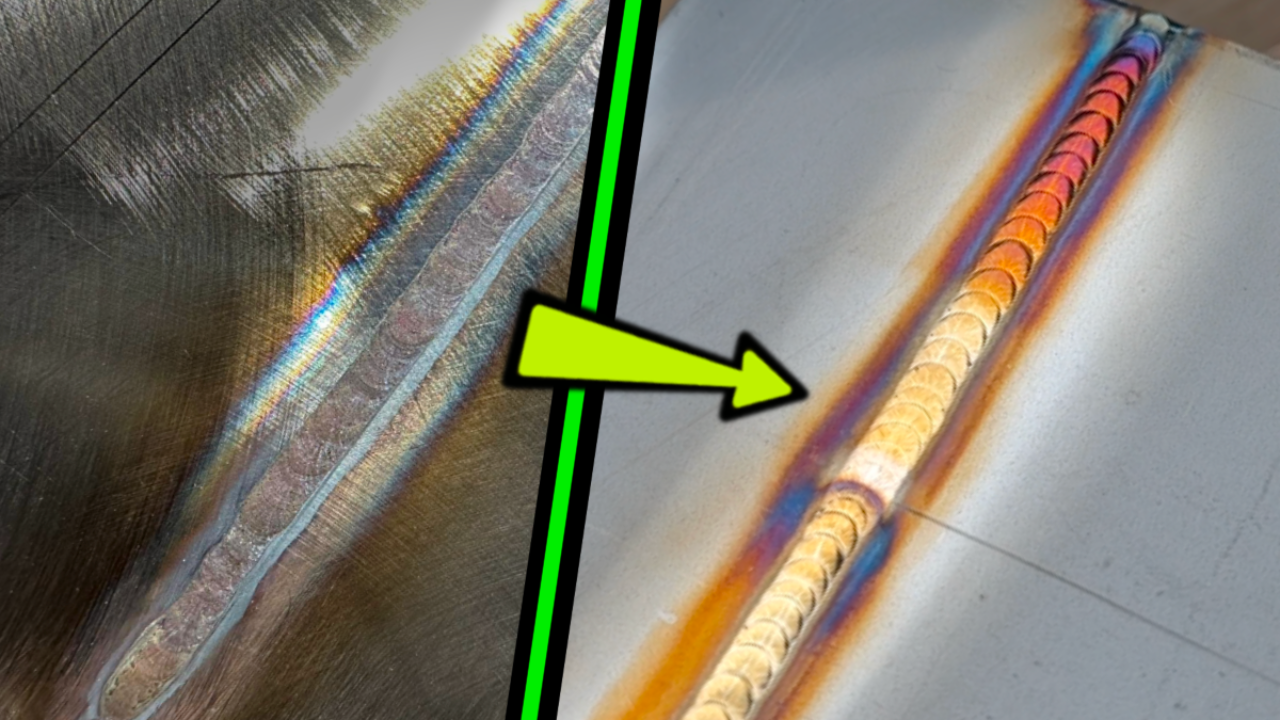
Use short bursts of heat instead of long continuous passes to avoid overheating. Pausing briefly allows the metal to cool slightly and prevents distortion. If your welds have excessive color changes, it’s a sign you’re applying too much heat.
Consider using a foot pedal or fingertip control to modulate the current during welding. This gives you immediate control over the heat as you work. How often do you adjust your heat settings mid-weld to improve results?
Common Challenges
TIG welding stainless steel requires careful handling to avoid common challenges. These challenges can affect the strength and appearance of the weld. Knowing how to manage them improves weld quality and safety.
Avoiding Warping
Stainless steel heats up quickly and cools unevenly. This causes the metal to warp or bend during welding. Warping can weaken the structure and spoil the shape of the project.
Control heat by using a low amperage and short welding time. Use clamps or fixtures to hold the metal steady. Allow the metal to cool slowly to reduce stress.
Preventing Contamination
Stainless steel reacts easily with contaminants like oil, dirt, or rust. Contamination causes weak welds and discoloration. It also leads to cracks or corrosion later.
Clean the metal thoroughly before welding. Use stainless steel brushes and degreasers. Avoid touching the welding area with bare hands. Shield the weld with proper gas coverage to keep air away.
Credit: www.pacificarctigwelding.com
Finishing The Weld
Finishing the weld is a vital part of TIG welding stainless steel. It ensures the joint is strong and looks clean. A good finish protects the weld from rust and damage. Focus on smoothness and appearance to make the weld last longer.
Inspecting The Joint
After welding, carefully check the joint for any flaws. Look for cracks, holes, or uneven areas. Use a bright light and a magnifying glass if needed. The weld should be uniform and smooth. Any defects can weaken the joint or cause leaks.
Touch the weld to feel for rough spots. A good weld feels solid and even. Remove any slag or spatter with a wire brush made for stainless steel. This keeps the surface clean and ready for polishing.
Polishing Stainless Steel
Polishing improves both the look and durability of the weld. Start with a coarse abrasive pad or grinding wheel. Gently smooth out rough areas and blend the weld with the base metal.
- Move the polisher in one direction to avoid scratches.
- Use finer abrasives step by step for a shiny finish.
- Clean the surface with a stainless steel cleaner after polishing.
Proper polishing removes oxidation and restores the metal’s shine. It also helps prevent corrosion and makes the weld easier to clean later.
Advanced Tips From Experts
Advanced TIG welding tips help improve your stainless steel projects. Experts share techniques that boost quality and precision. These tips focus on fine details and subtle skills. They guide you through enhancing weld appearance and handling thin materials. Applying these can raise your welding results.
Enhancing Weld Appearance
Cleanliness is key. Remove all dirt, oil, and rust before welding. Use a stainless steel wire brush only for cleaning. Avoid mixing brushes with other metals to prevent contamination.
Use the right filler rod. Match the rod to the base metal type. Choose a rod with the correct diameter for smooth beads.
Control heat input carefully. Too much heat causes discoloration and warping. Use foot pedal control to adjust amperage smoothly during welding.
Maintain a steady hand. Keep a consistent travel speed and torch angle. This creates even, clean weld beads without gaps or spatter.
Techniques For Thin Materials
Lower the amperage to suit thin sheets. High heat burns through thin stainless steel quickly. Start with lower settings and increase slowly if needed.
Use pulse welding mode. Pulsing controls heat and reduces warping. It also improves penetration without damaging the material.
Keep the torch close but avoid touching the metal. Maintain a short arc length to focus heat precisely. This reduces the risk of burn-through.
Support the workpiece firmly. Thin materials bend easily under heat. Use clamps or backing bars to hold the metal flat during welding.
Credit: www.youtube.com
Frequently Asked Questions
What Equipment Is Needed For Tig Welding Stainless Steel?
You need a TIG welder, tungsten electrode, filler rod, protective gear, and shielding gas. Argon gas is commonly used. Proper equipment ensures clean, precise welds on stainless steel surfaces.
How Do You Prepare Stainless Steel For Tig Welding?
Clean the surface thoroughly to remove dirt, oil, and rust. Use a stainless steel brush or acetone. Proper preparation prevents contamination and ensures strong, clean welds.
What Settings Are Best For Tig Welding Stainless Steel?
Use low amperage for thin metal and higher for thicker pieces. Set AC or DC depending on the stainless steel type. Proper settings prevent warping and ensure smooth welds.
How Do You Avoid Contamination When Tig Welding Stainless Steel?
Use clean tungsten electrodes and filler rods. Avoid using carbon steel brushes or materials. Proper shielding gas coverage also protects against oxidation and contamination.
Conclusion
TIG welding stainless steel takes patience and practice. Start with clean metal and steady hands. Use the right settings for best results. Watch the weld pool carefully as you work. Keep your pace slow and consistent. With time, your welds will look smooth and strong.
Enjoy the process and keep learning. Welding stainless steel can be rewarding and useful. Give yourself space to improve. Soon, you’ll weld with confidence and skill.
About The Author

